Trius + aiM Bistro

When you get an invitation to a private lunch event at a new, up and coming restaurant that also happens to be in your neighborhood, you jump at the chance! So on May 15th I headed over to Trius + aiM Bistro on Browns Line in Etobicoke for what was going to be the most amazing foodie event ever! I decided to take my daughter along with me. Shes two, by the way, and always willing to try any food that I offer her and of course if she sees mom having some, then she is definitely interested.

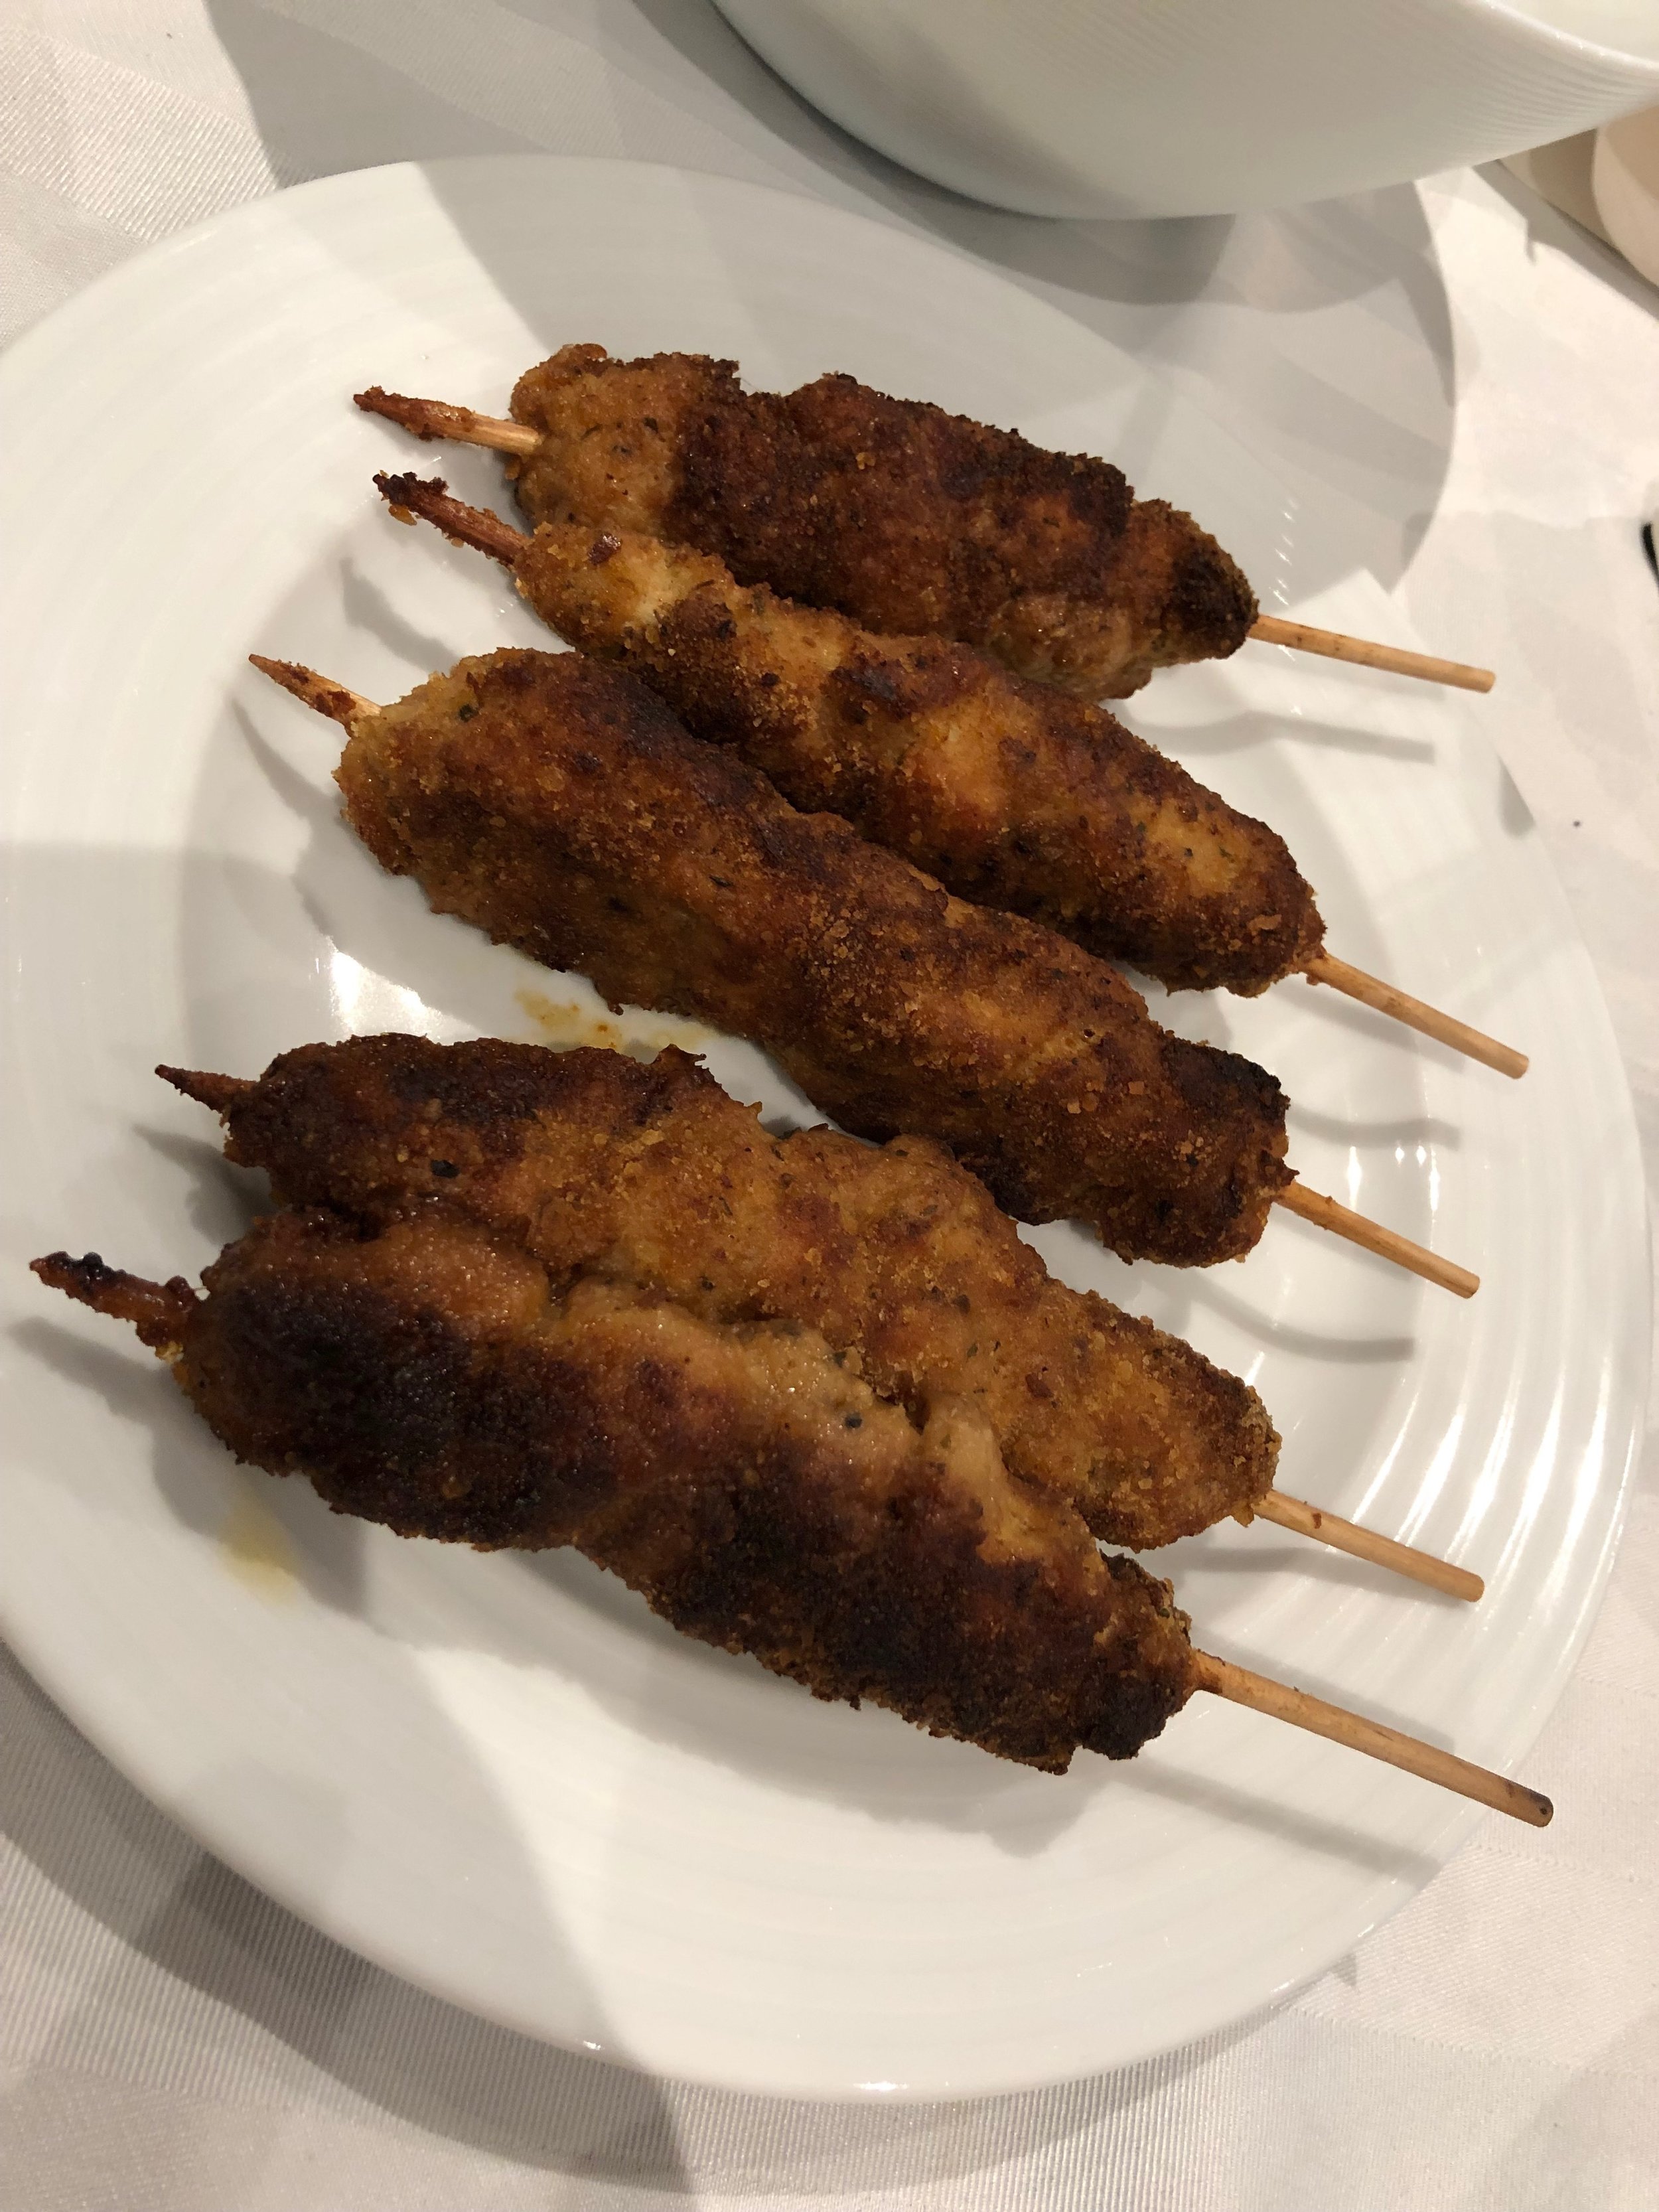
We arrived and were welcomed by one of the owners, Irina as well as bloggers, influencers and photographers. To say the least, I was on cloud 9! This was amazing and surreal all at the same time. Irina’s husband and co-owner is Chef Daniel and he was busy in the kitchen (where I am used to being btw) making delicious dishes for all of us to sample. Everything from amazing arancini, to chips and dip to labneh to steak with chimichurri sauce and the most delicious jerk chicken.

Irina led us all on a nice tour of the Bistro allowing us to see that there was an amazing event space in the back of the restaurant as well as plenty of seating throughout. Its a great looking interior with classic and modern touches. The restaurant was named after the couple’s two children and Irina let us know that they had just had a third baby and actually named her in line with the existing restaurants name. Lots of family orientation as they want the community to feel comfortable bringing their kids to the restaurant and still enjoy their meal. To achieve this, they have a space for the kids to run around and play in.

My daughter and I loved chatting with Irina and the other foodies that were there. The food was amazing and posting on Insta while there was truly awesome!

If you are in South Etobicoke or not, you need to go check out Trius + aiM. They are famous for their weekend brunch menu and have great specials throughout the week as well. I know where I’ll be taking my family for brunch soon! Thanks for having me again and I look forward to more events at Trius + aiM.

Pic1.jpg
[pic2.jpg
pic4.jpg
pic3.jpg

Thumbprint Cookies (Jam Drops)

The below recipe is adapted from Donna Hay who is a fantastic Australian Baker and Chef.

What You’ll Need:

IMG-1539.JPG
  • 250g of unsalted butter, room temperature

  • 1/2 cup of white sugar

  • 2 tsp of vanilla extract

  • 1 egg yolk

  • 2 tbsp of finely grated lemon zest

  • 2 1/4 cups of all purpose flour

  • 1/2 cup of strawberry jam (or any jam you prefer

  • 1/4 tsp of salt


Let’s Get Started:

  1. In the bowl of an electric mixer, cream together the butter and the sugar, for about 8 min on high. Its important that you get a lot of air into the mixture, so beat away.

  2. Next, add your egg yolk, vanilla and lemon zest. Beat until well combined.

  3. In a bowl, mix together the flour with the salt. With your mixer on low, slowly begin to add the flour to the butter mix. Just until combined. You may need to hand mix the flour into the batter a bit so don’t worry about that.

  4. Take the dough out of the mixer, place onto plastic wrap, cover and refrigerate for 30 minutes. Preheat oven to 325.

  5. Roll the dough between your hands, 1 tsp of dough at a time, until it forms a ball. Place the balls of dough onto your cookie sheet that is lined with parchment paper. Space them about an inch apart because the dough will spread.

  6. Once all of your dough is rolled out, make indents in the balls with your thumb. Fill each indent with a little bit of jam.

  7. Bake in the oven for 15-20 minutes. You want the cookies to have a golden bottom and be ever so slightly golden brown on top. Enjoy!!


I discovered Donna Hay after talking to a Chef Friend of mine who passed away 2 years ago now. He thought I would really enjoy her cooking and baking because she had new twists on classic recipes and boy was her right, I own 4 Donna Hay Cookbooks and love looking up her recipes online too. Tell me what you think of these! I love how light they taste and often use a citrus marmalade or cherry jam! Bon Appetite!

Patyczki (Polish meat on a stick)

A little background on this dish before I get to the ingredients and steps! I have childhood memories of my mom and my grandmother (Babcia) making these when I was a kid. They do take some time to make but they are totally and utterly worth every minute, I promise!! The recipe that I am going to share is made with pork however you can make it with chicken or you can make it with a mix of pork and chicken. Happy cooking friends!


What You’ll Need:

  • 1 pound of Pork Tenderloin - cubed in 1/2” chunks

  • 1 small white onion, diced medium

  • 1 clove of garlic, chopped

  • 3 whole eggs

  • 1/2 tbsp of salt

  • 1/2 tbsp of ground black pepper

  • 2 tsp of garlic powder

  • 2 tsp of onion powder

  • 2 tsp of dried Italian seasoning

  • 3 tsp of paprika, sweet

  • 2 tsp of Maggi Seasoning (if you do not have this, you can omit)

  • 1 1/2 Cups of breadcrumbs

  • 2 tbsp of vegetable oil

  • Bamboo skewers (5-8 of them)

IMG-0876.JPG

Let’s Get Started:

  1. Start by cutting your pork into cubes. Dice your onion and chop your garlic. Get all of these ingredients and put them into a medium sized bowl.

  2. Next, season the pork mixture with all of the herbs and spices.

  3. Crack your eggs into the bowl with the pork. Mix everything together until well combined.

  4. Cover the bowl and put it into the fridge. Overnight is best but if that cannot be done, at least 4 hours is crucial. If you can vac-pac your meat mixture, then you can cut down on marinating time as well.

  5. Once the meat has marinated, you need to skewer it. The onions will not be skewered and unfortunately will just have be discarded due to the eggs being a part of the marinade. You want to skewer enough meat onto each bamboo skewer that you get about 3 inches worth of coverage.

  6. Take your finished skewers and begin rolling them in the breadcrumbs. You will need to make sure that you do not surface coat the skewers. You really need to press the breadcrumbs into the meat so that the meat stays together and so that when you pan fry the patyczki, you will get a nice crust.

  7. You can then begin to pre-heat your frying pan with the vegetable oil. In the meantime, pre-heat your oven to 350 degrees. Fry the patyczki until golden brown on all sides. Put them into a shallow baking dish, cover with aluminum foil and bake in the oven for 1 hour. After the hour passes, turn off your oven and leave them into the cooling oven for another hour.

  8. If you want to eat them right away, you can simply heat them up in the oven again until warm. If you want to eat them the next day, simply refrigerate and reheat. You can also freeze them once they are out of the oven.

Makes 5-8 skewers.


I often serve these with mashed potatoes and a salad. My mom used to make these with a tomato sauce however I do not think that they need it. The recipe above is truly one that takes a little bit of time to “perfect”. Changing the seasoning, mastering the skewering and timing of cooking. All of these little things are what make this recipe truly unique. I would love to hear your stories and comments about this recipe! Happy cooking!

Life is Sweet and so is this treat!

Rice Krispy Treat Hearts

hearts.JPG
  • 5 Cups of Rice Krispy Cereal

  • 6 Cups of Mini Marshmellows

  • 1/4 cup of butter

  • Sugar Decorations

  1. Melt the butter in a large pot and add your marshmellows. Stir until melted.

  2. Add your rice krispy cereal and mix over a low heat.

  3. Add some valentine candy - hearts, sprinkles, whatever your heart desires.

  4. Spread evenly onto a cookie sheet lined with parchment paper and let it cool completely.

  5. Cut out fun shapes! Enjoy!

My 2.5 year old daughter goes to preschool and tomorrow being the day of love, I wanted her to give her classmates a fun and lovey gift! I had all these glamorous cupcake or cookie ideas and then my husband goes, why don’t you make rice krispy treats and cut them out as hearts! Bam! Brilliant! Done and Done!

I got some fun sprinkles, hearts and round pink ones that I threw into the mix before spreading the mix out onto my cookie sheet. I bought a edible glitter gel and added some pizazz on top!

Cards are written and treats are done! Hopefully the little people will enjoy them!

I love doing special treats for all occasions but Valentines always strikes a special cord in my heart (get it? lol)

Happy Day of Love everyone! If you make any fun treats for the V Day, let me know! I’d love to see hear all about them!

Panzanella Salad

What you’ll need:

panzanela salad.JPG
  • 1 Day Old Baguette

  • 1 Clove of garlic, chopped finely

  • 1/2 medium red onion, diced finely

  • 1 small tomato, diced medium

  • 1/2 english cucumber, diced medium

  • 1 small, ripe avocado, cut into medium sized cubes

  • 1/2 medium bell pepper, diced medium

  • 1 1/2 tsp of salt

  • 1 1/2 tsp of freshly ground black pepper

  • 2 tsp of dried herbs (mix)

  • 1/4 cup of Olive Oil

  • 1/4 cup of Balsamic Vinegar


Let’s Get Started!

  1. Cut your baguette into medium sized cubes. Spread them onto a cookie sheet pan, sprinkle with olive oil and pop them into an oven preheated to 325 degrees. Let them bake for 5-6 minutes, give the pan a shake and then pop it back into the oven for another 4-5 minutes. Your goal is toasted bread but not rock hard bread. Once out of the oven, let the bread cool on the cookie sheet pan. The bread can be a little warm when adding it to your other ingredients but it should not be hot.

  2. Cut your vegetables and garlic. Put them into the bowl that you are going to ultimately serve your salad in.

  3. Add your cooled bread cubes to the bowl and proceed to add your olive oil and balsamic. Make sure to use good quality oil and vinegar because you want your salad to taste great. Now is your time as well to season with the herbs, salt and pepper.

  4. Give everything a solid toss and taste. Feel free to add or change the seasoning to your liking.

  5. Its best to let the salad sit a little bit so that the bread can absorb the oils and seasoning a bit. I would say it can sit for up to 45 min before serving without getting too mushy. Enjoy!

    Serves 2-4 people (depending on if your eating the salad as an Entree or as a side)

    Notes: I have had a few variations of this salad and love this one the most however I have had this salad with chopped olives, capers, artichoke hearts and even pine nuts. I’m ultimately giving you the building blocks and leaving the creativity to you! Please share your variation/changes, I would love to learn from you as well or simply try my version and let me know how it comes out! Bon Appetit!


Chili

What you’ll need:

chili.jpg
  • 1/2 lb of medium or lean ground beef

  • 1 small cooking or white onion, diced finely

  • 2 small cloves of garlic, chopped finely

  • 1 small tomato, diced medium

  • 1 small carrot, diced small

  • 1 jar of Passata Tomato sauce (680 ml)

  • 1 can of any type of bean (black, navy, mixed, red, etc)

  • 1/2 of a large bell pepper (any colour)

  • 1 fresh cob or corn or 1/2 cup of frozen kernels

  • 1 tsp of salt

  • 1 tsp of pepper

  • 1 tbsp of paprika

  • 1 tsp of garlic powder

  • 1 tsp of onion powder

  • 2 tsp of Italian seasoning

  • A splash of worchestire sauce

  • 1 cup of shredded cheddar cheese

  • A bag of your favourite tortilla chip

  • 1 avocado, ripe and cut into strips (optional)

  • 1/4 cup of sour cream (optional)


Let’s get started!

First, get all of your ingredients ready for yourself. Chop all the veggies, get your seasoning measured out and take the ground beef out of the fridge.

Next, if you have a small dutch oven, this is the perfect recipe to cook in it. If you do not, grab a medium sized sauce pan.

Next, pour into the bottom of the pan about a tablespoon of olive oil or veg oil and turn your burner on high.

Once your pan is heated, add your chopped onions and garlic. Let it cook for a minute or two, give it a stir and add your ground beef. Don’t be tempted to stir the beef as soon as it hits the pan. Let it cook for a minute without stirring. Once your time has passed, stir the beef with the onions and garlic already in your pot. I typically use a wooden spoon to do this but a heat proof spatula works well too.

Next you will add your spices and worchestire sauce. I find that the beef gets a chance to absorb those delicious spices. Side note, if you like it spicy, add some chillie powder or chillie flakes to your liking. I always use the rule of thumb, add a little at a time and you can always add more but once its in the pot, you cant take it away!

Stir everything together and keep breaking down the ground beef. This is your opportunity to make sure that the beef is small enough because you have been stirring and that there is as little liquid left from the beef as possible in your pan. Remember, leave your heat on high, you’ll thank me later!

Once there is very little to no liquid left in your pan, add your carrots and tomato. Stir together for a minute or two.

Next, add your can of beans. Make sure that you rinsed the beans ahead of this and if you are using fresh beans that’s just fine as well. Stir everything together.

Next add about half your jar of passata sauce. If you don’t have passata sauce, a can of crushed tomatoes will do just fine as well. You want enough sauce to just cover the ingredients in your pan. You don’t want too much sauce because then you are going to have a very heavy tomato based sauce and instead you’re looking for a nice thick chili!.

Next, you are going to turn your burner way down to low. Get the lid for your pan and cover the chili half way so that some steam can still escape. Now, if you have the time, let the chili cook for 1-2 hours on low, stirring occasionally. If you do not have the time, you can keep the burner on medium and stir frequently and be done in about 30 min.

Once your chili has had some time to cook, you add your corn and peppers at the very last minute. You are looking for the corn and the peppers to really only get heated through and not cooked to death. If you do not want to add these ingredients, please feel free to leave them out. I’ve made chili with them and without them and love my chili either way!

You can serve your chili immediately or warm it up on the stove on medium low later that day or the next day. Top with shredded cheddar cheese, avocado and sour cream. You can do all three or none or some! Its your chili! Serve your chili with tortilla chips and enjoy!

Serves 4 people generously.

Notes: you can add more veggies, make it purely vegetarian, change the ground beef to ground turkey or chicken, you can add more spices, seasoning, anything you like. I am giving you the foundation and my version of chili but please do not hesitate to change it up! I would love to see and hear how it turns out for you! Happy cooking!